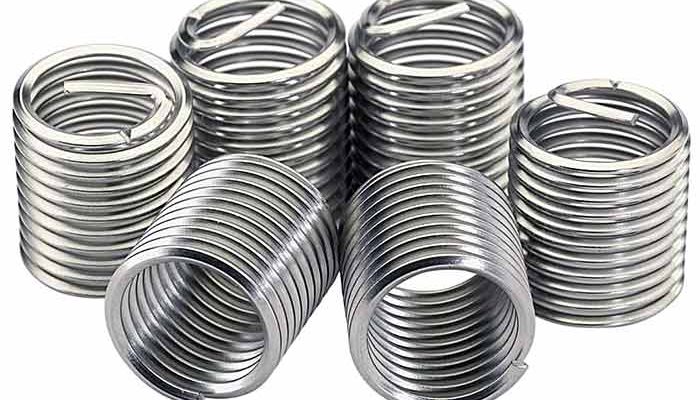
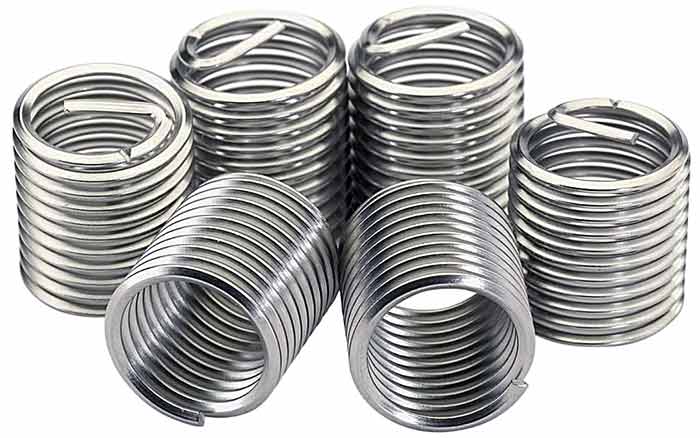
How to install threaded inserts quickly and efficiently
To install threaded inserts quickly and efficiently, use a dedicated insertion tool and PTFE lubricant to reduce installation time by approximately 20%. ensure you use the correct size drill bit (for a 6mm threaded diameter, choose a 5.9mm drill bit) for fast and accurate installation.
Essential Tools and Materials
Threaded inserts are to be installed using an electric screwdriver, and it should have a quality class in the range from 20 to 50 Nm. Threaded inserts are recommended for use with a dedicated insertion tool having a hexagon head, which generally costs about 100-300 yuan in the market.
Manual screwdriver set: This tool is indispensable when there is no power supply available. The set price of 50-150 yuan with screwdrivers of different sizes.
In terms of materials, stainless steel threaded inserts is the highest proportion that mainly because it has good corrosion resistance and wear-resistant properties. Its material price range usually from 0.5 yuan to 5 per piece They generally sell for 1 to 10 yuan/various types and prices in high-strength steel threaded inserts that bear heavier loads.
Using appropriate lubrication can also go far in improving install speed and the lifespan of inserts. PTFE (polytetrafluoroethylene) based lubricants can be used to reduce friction during installation and improve the anti-locking function of threads, which are sold for 50-100 yuan per bottle.
Installation Steps
Step 1: Position and Size The Inset The diameter of the installation hole should be checked with a pair calipers before starting to install (generally 0.1mm-0.5 mm less than external threaded insert outside diameter).
Step 2: Drilling the Hole Pre-drill a hole with your drill bit. Select the drill bit according to measurements made in step 1. Quick Tip: If the outside diameter of your threaded insert is 6mm; pick a, 5.9 mm drill bit. The depth of the hole should be slightly over the length of one threaded insert; usually a difference up to about 1mm.
Step 3: Clear any debris in the hole. Blow chips and dust out of the hole with air or use a small brush, as even a little can prevent the insert from sitting squarely in place. Uneven seating may compromise performance because it is not stable which also has safety implications.
Step 4: Put some lubricant on the hole and around the threaded insert. Add a drop of lubricant such as PTFE lube to the hole and on your threaded insert. This can save about 20% of the time by reducing friction during installation, preventing locking and facilitating fast assembly.
Step 6: Thread In the Insert Put the correct installation tool into your threaded insert and then thread it back through the drilled hole. Keep the pressure evenly applied while you continue to insert until the it is seated all of the way into material.
Step 7: Check the fitting. Step 6After installation has completed put the threaded insert on your torque wrench to check for stability. Correct torques must be set, depending on the insert material and size. The common torque setting for a 6mm stainless steel threaded insert is from 8 to10Nm
Precautions and Tips
Test Fit The Threaded Insert And Hole The digital caliper can measure the hole diameter and insert diameter accurately, so that this error is controlled to be within ± 0.05mm here.
Show Installation tools misc:Threaded insert tool kit design accounts for the unique geometry and torque requirements of inserts, minimizing material distortion during installation while increasing install speed by up to 20%.
Pay attention at variance temperatures:High or low heat can cause materials to expand and contract, leaving the threaded insert loose no matter what measures are taken. We recommend that you work in an air-conditioned room (about 20°C) and wait for any newly replaced parts to stabilize in the device for at least a full day.
Use cross-locking techniques:When connecting two or more threaded inserts on the same plane, if using crossed alignment they will not concentrate in an area allowing deformation and material stress.
Regular re-inspection and maintenance: If your process includes batch production or operates under heavy-load conditions, you should probably inspect the entire unit every 500 hours (or roughly once a quarter). If any looseness or wear is visible retighten the inserts at once, otherwise replace them.