How To Correctly Install Self-Locking Nuts
To properly install self-locking nuts, prepare the tools, follow the installation steps, avoid common mistakes, and conduct testing and verification.
Installation Preparation
To prepare for the installation of self-locking nuts be sure to follow these simple but important steps: Detailed planning – any project is all about having the right raw materials and right ingredients to start with.
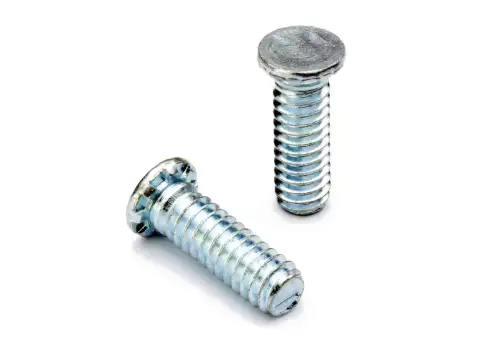
Choose the Appropriate Self-Locking Nut and Bolt
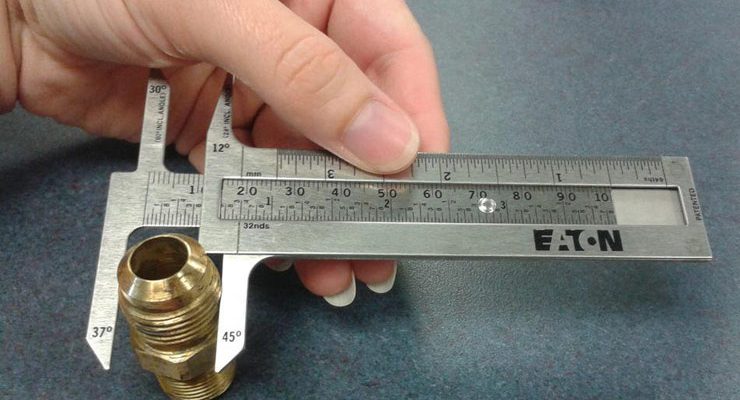
Selecting the right self-locking nut and bolt for your application is essential. You also have to make sure that this nut is exactly maching the diameter and thread of bolt otherwise it will not fit properly. Typically M2 to M30 sizes conforming to the ISO metric standards Even the material used for the system differs — stainless steel for corrosion protection, carbon steel for robustness and alloy steel where both strength and long-life in critical environments is required. For example, an application in a marine environment would be best with a 316 stainless steel nut to avoid the saltwater.
Inspect Tools and Equipment
Correct tool selection, and ensuring that every tools is in full working capacity will be vital to a top notch installation. Devices like torque wrenches should be checked against known standards for calibration at frequent interval, but they can provide an accurate measure of the force put on that nut. Then test every 5,000 uses or once a year for routine calibration. The under-tightening might lead to a loose joint while the over-tightening might strip threads or ruin the nuts locking ability if used;
Prepare the Work Surface
The workspace should always be clean so the fastening will not be influenced by any particles. Wash the dirt, oil and debri out of both the bolt threads and nut threads. Good practice may include wiping the threads with a clean lint-free cloth and air blow, if necessary to remove any residual debris. Corroded or damaged threads need to be cleaned with a wire brush or the components replaced.
Technical specifications review
Technical specifications of the fastening components are important to know. So, it helps to know the nuts of different sizes and material generally used along with the torque values (in some cases exact) set for them. To provide a near-quantitative example, 37-44 Nm are given for the torque specifications of an M10 carbon steel self-locking nut to ensure that the nut will lock correctly and not strip threads. Not meeting these specifications can affect the integrity of your assembly.
Ensure Accessibility and Safety
Lastly, ensure the installation location is completely walk in able and has proper lighting. Note; it is important that the assembly point should have good visibility and easy to access so that installation can be carried out accurately. Other protective clothing must at all times be used to avoid accidents. That means safety goggles so you do not get hit with the fly debris and gloves to prevent your hands getting hurt by sharp threads, edges. Also, always follow all precautions related to safety, especially when using high-torque power tools (they are very dangerous and very little is needed to get rid of your fingers).

Installation Process
This is an accurate, highly exacting process, the integrity of which will determine how robust and long-lasting the coupling can be, into which self-locking nuts are inserted. In this article, we are going to explain more about each step of the installation process to show you how should it actually be done with facts and near realistic examples.
Ensure Correct Alignment
First, place correctly the thread-locking nut on the axis. This first step is very important to avoid cross-threading, which damages the bolt and nut and can’t be fixed. If you think back to the M10 bolt this is equivalent to being able to start a nut by hand and having it run up the thread until fully seated by hand which allows you to turn the nut onto the thread. For preloading, it should rotate smoothly (2-3 turns) before engaging any interoperational resistance from the locking feature.
Apply the Correct Torque
The calibrated torque wrench fits in there, it looks tough. This must be done as per the size of the nut and its material type given. Another example is the torque range specified by the manufacturer of 38-42Nm for a normal M10 steel self-locking nut. The most important step is that you must continue to tighten until your torque wrench clicks, indicating you have hit the preset torque value. This will allow the nut to lock in the range of desired motion but should not be too-tight as to risk binding the locking mechanism internally or too-loose that will cause a lose joint.
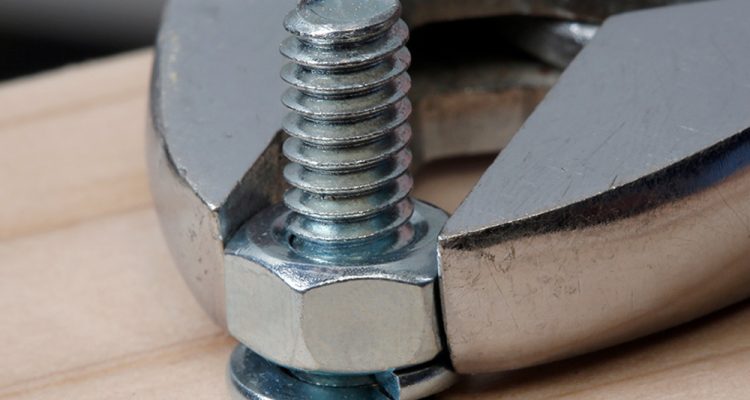
Use Proper Tools
Installing the nut effectively shall be depended on where you choose to set it, so make sure you find out which socket size is the most suitable for your removal.JpaRepository – com. Its also the wrong size socket nut as must match the nut exactly to spread all the torque out evenly. A 17 mm socket is usually the right size for an M10 nut. Examine tools prior to use – worn tools can potentially slip and not provide even torque or damage during installations.
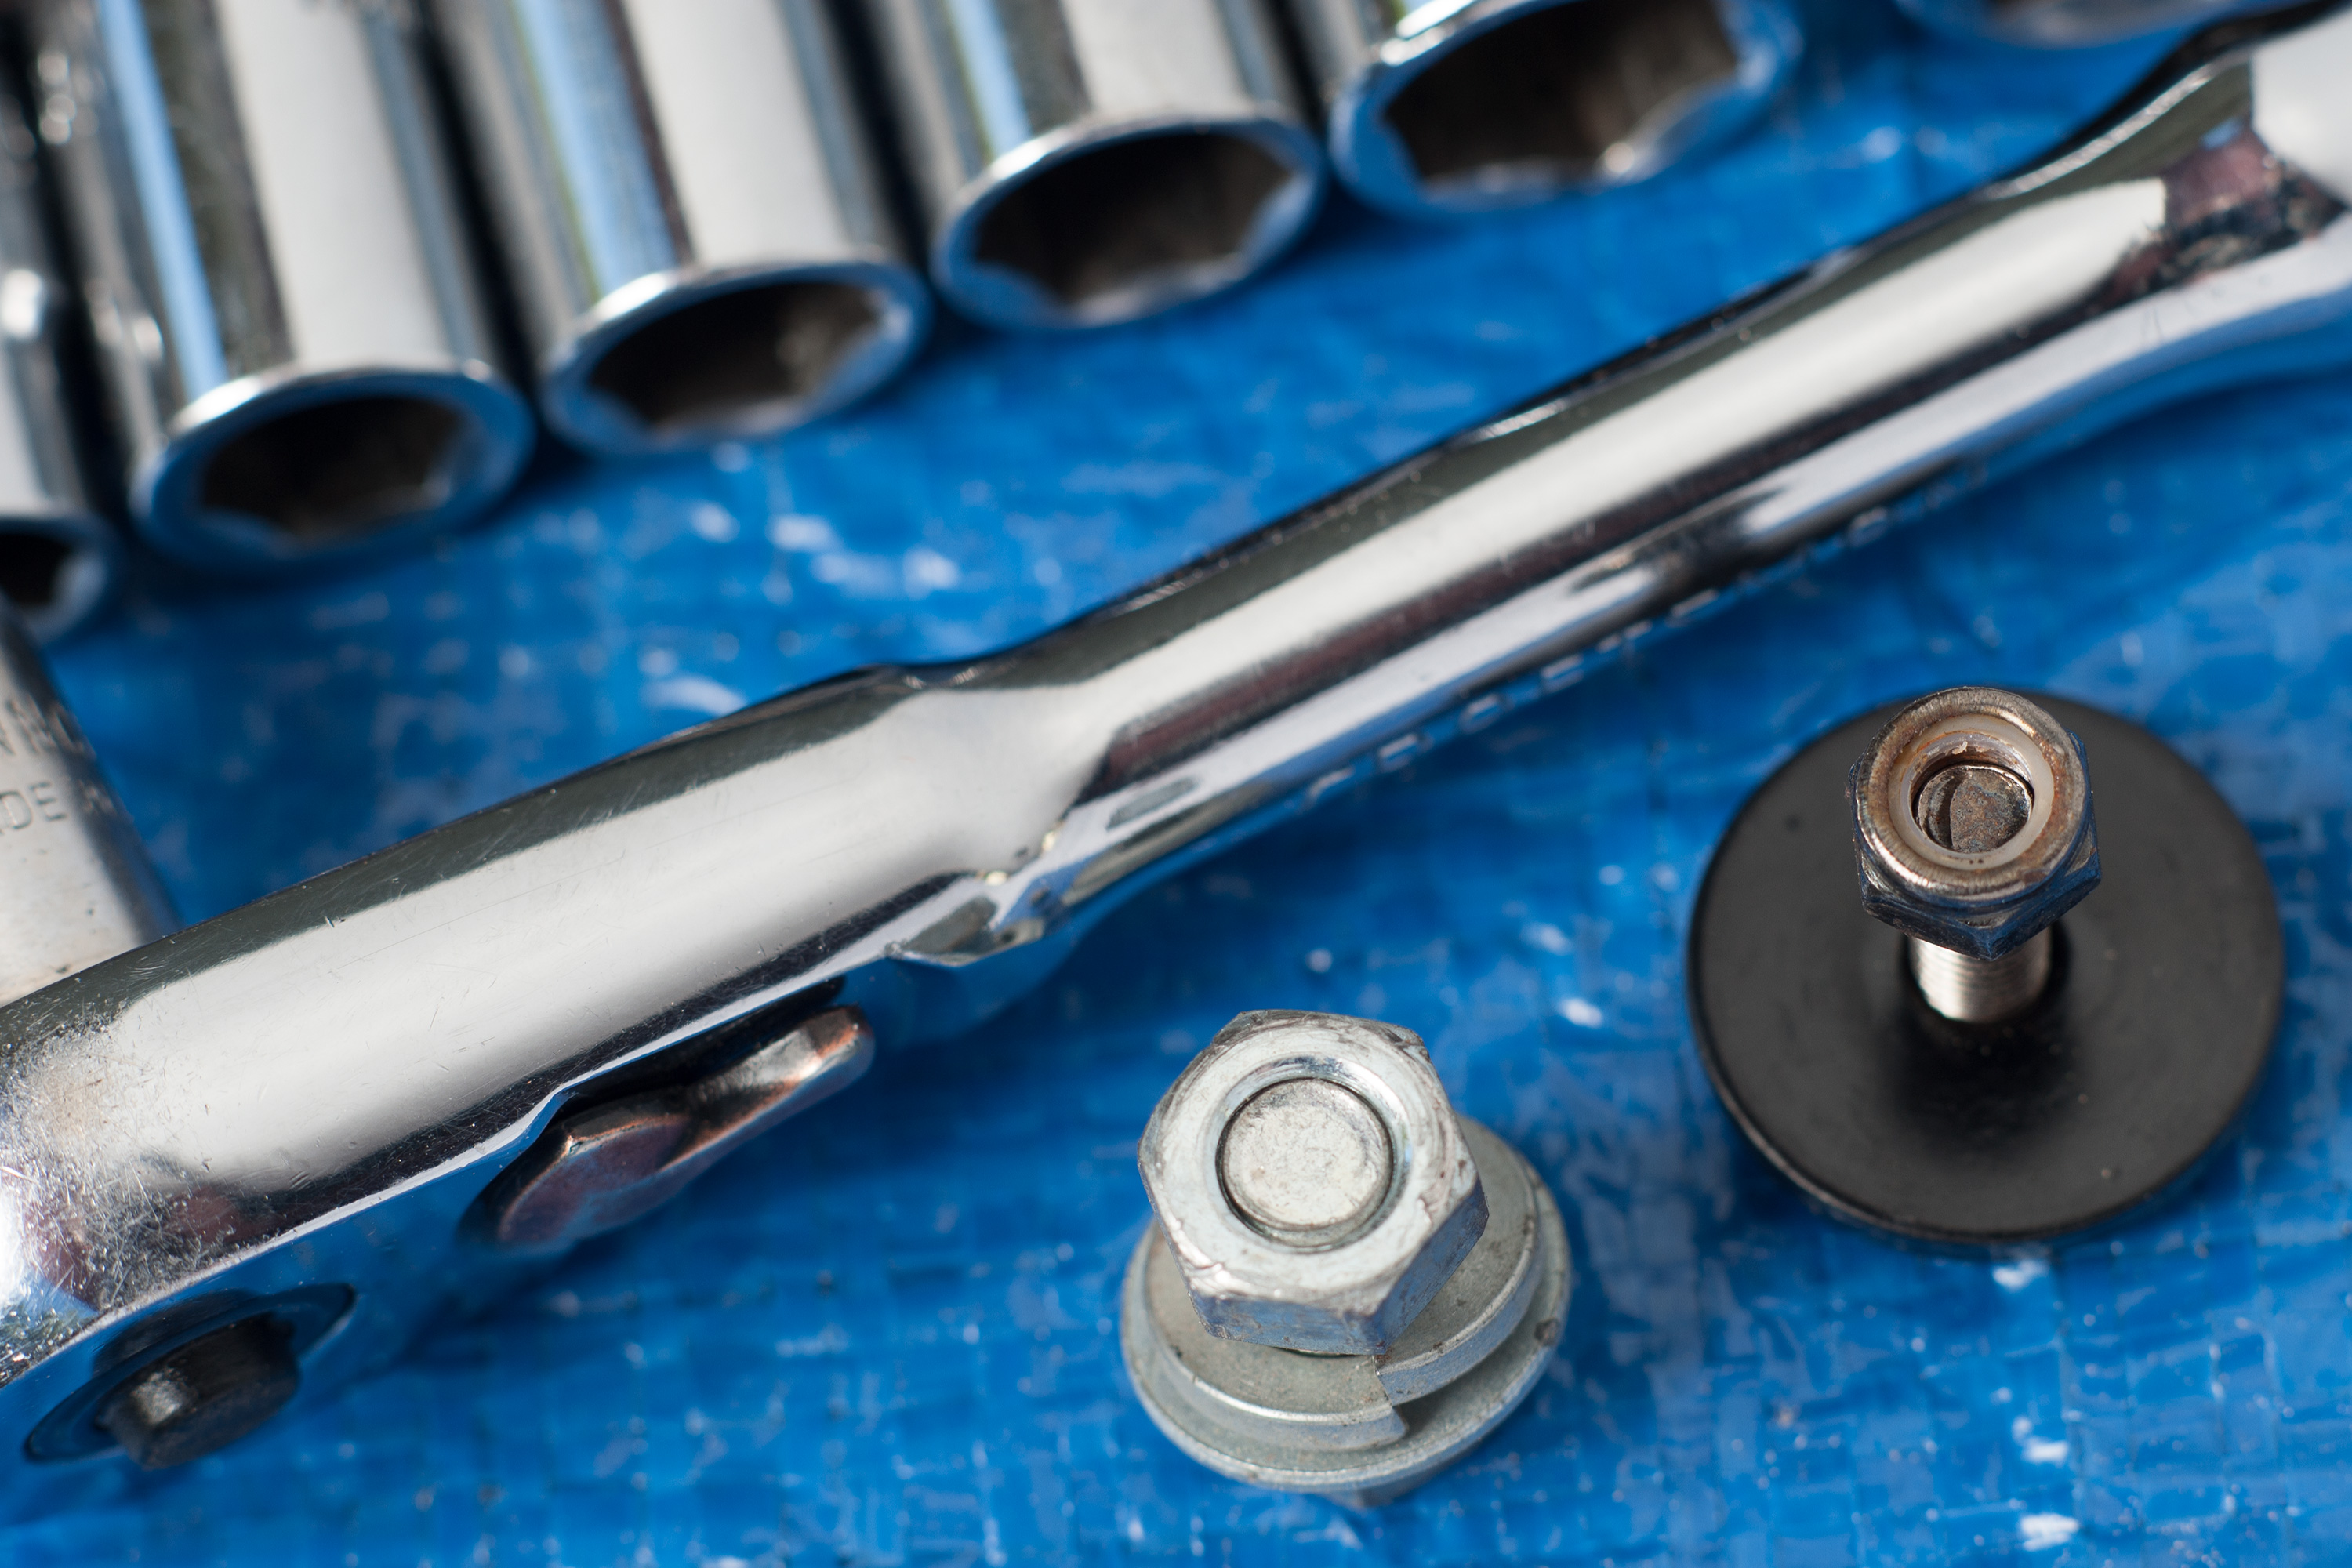
Check for Secure Fit
Once the nut is tightened, we should give it a good look. Look at the assembly to make sure there are no gaps and that the nut is close against the surface. Trying to coax the nut up and down can offer a physical means of verifying that it is safely tightened. Thread locking compounds should be put on bolts so that they do not get shaken free or come otherwise loose in environments where vibrations are present or loads are dynamic.
Follow Safety Procedures
Never neglect the safety in mechanical installations. Even when using a screw gun, you should always wear safety glasses and gloves to protect your eyes and hands from injury, especially since powered installation tools generate considerable torque, which can be damaging if it hits the skin. Verify that installation zone is free of anything that could block visibility or cause trips to minimize the risk of any accidents due to a lack of visibility on the installation zone.
Avoid Installation Errors
The Problem with Self-Locking NutsSelflocking nut.Use of incorrect force.This one is the most common mistake. Learn to dodge these common pitfalls and you will end up with a highly dependable install. These hot-button issues nature is as follows :
Bolt Grades & Threads
Lowest error is Not Enough Thread Engagement. It is generally the case, that at least three complete threads should be in load after tightening of the nut. This way, we can make sure load is distributed evenly across the threads reducing the chances of starving any any thread from working, hence preventing thread striping or failing under load. For example, in a critical application where you have used an M10 nut, make sure that the bolt sticks out 6 mm at least after tightening.
Avoid Cross-threading
Cross threading is a malaise that leads to the nut not being lined up perfectly with the bolt as it makes first contact. It results in the threads of the bolt and nut being improperly lined up which can strip the threads of both the materials, ultimately leading to improper grip and failure. Always start threading by hand first to avoid cross-threading and make sure the nut is turning freely for a few revolutions before applying any torque with a tool.
Do Not Over-tighten
If a self-locking nut is over-torqued, the locknut may be ruined due to overtightening, whereas the bolt threads damage over time. The concept is that if you over-tighten up a fastener, it will either stretch the material as well far, or shear off too soon (general tightening 1-7); amplify to flush bolts (80% of max torque), lightweight metal screws/bolts (go also less– ABS 60%)— using far more power is unnecessary. Example a, M10 self-locking nut in 8.8 steel should be torqued to 49 Nm Make sure to use a calibrated torque wrench and tighten to the manufacturer specified torque.
Check Tool Calibration
Tools that are calibrated incorrectly: Tools not well-calibrated can lead to over-tightening or under-tightening. The device should be verified against calibration at certain intervals or after a number of uses the manufacturer’s documents, but this is generally every 5000 cycles or once a year. Incorrect tools can also bore into the assembly, causing installation defects in the machined component.
Prevent Contamination
Check the threads of both the nut and the bolt are clean and not clogged with dirt before refitting. Any sort of dirt, oil, or metal shavings can throw off that torque tension relationship and you may lift the collar to tighten it, but you are in essence only spinning it. For best installation results, all contact surfaces should be wiped clean with a solvent based cleaner and a non-linting cloth
Use Appropriate Materials
Different material properties between the bolt and nut will also cause problems during temperature changes, or with galvanic corrosion. One common example of this is using a stainless steel nut with a carbon steel bolt in an environment where corrosion is present, which can cause the system to fail sooner than expected. We must always pair nuts and bolts in such a way as to guarantee that the materials are compatible with each other, to ensure that they will not rust or fail over time.
Testing and Verification
This demonstrates the importance of thorough testing and validation after installing self-locking nuts, necessary in order to make sure they function reliably during operations. This section details the procedures and controls for a successful verification.
Perform a Visual Inspection
A proper visual inspection should be the first examination where you check basic stuff such as misalignment, cross threading, or visible gap between the nut and the bolt. The nut should be flush but not laying to one side or the other, which could tell you that installation was off.
Conduct a Torque Re-Check
You should carry out a torque re-check after the original installation to make sure that the self-locking nuts have been fastened properly to the required torque. This is particularly important where vibration or dynamic loads might relax the nuts and reduce preload. After some running in time, or after a few operational cycles, recheck the torque settings with a calibrated torque wrench at the manufacturers recommended torque.
Perform a Mechanical Wedge Test
The test is to back up torque this nut and see if the locking is engaged in the nut. This is a critical step on applications that will be subjected to vibration or cycling, The self-locking nut should only turn a few degrees, with most specifications calling for 5 degrees or less of counter-rotation to demonstrate that the locking feature is working as intended.
A Note on Environmental Resistance
Conduct environmental resistance tests in the event the nut is exposed to severe environmental conditions. In this case it is for example contain erogenous inducing media, high temperatures or UV light. An outdoor application of a self-locking nut, for instance, could necessitate the need to put all materials and coatings through additional salt spray or hours-salt-fog testing to guarantee they will last.
Load Testing
Load testingFor critical applications, we can carry out load tests to test in real operating conditions. It requires fastening a known load and testing it whether there is any change in deformation or rotation or the nut gets slipped or failed. The load testing data can then build up confidence in the installation and also ensure that the product is suitable for the application.
Document Results
Keep records of all test and audit histories along with the dates, results, and if necessary corrective actions carried out. It is important to keep this documentation up-to-date to ensure quality control and record-keeping for future routine maintenance or inspection. Additionally, it creates a traceable audit trail for failure analysis and warranty claims.