Threading Technology: Rolling and Cutting Threads
Thread Rolling
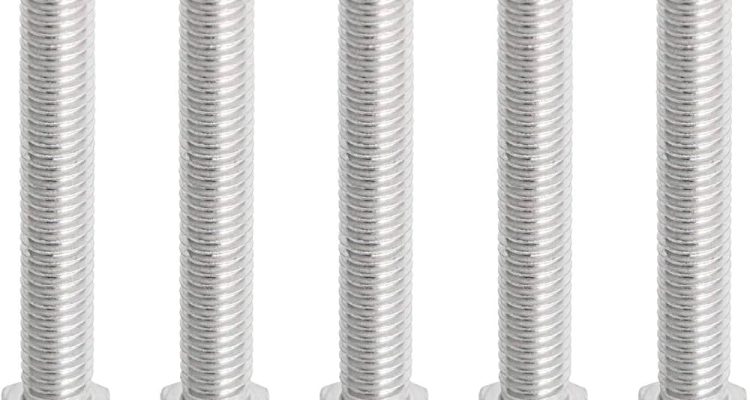
The thread rolling process is used to create threads in the bolt shaft with a cold forming technique. This approach features the application of pressure on the bolt shaft executed between two steel dies. The bolt is subjected to two dies: a stationary stationary die and a rotating secondary die. The thread rolling process relies on the rapid flow of the axially compressive force across the thread-forming area. During this process, metal forms the structure of the threads by pressing along the flank angles of the threads on the bolt shaft. The forces acting during the thread rolling process are compressive, originating from the compressive movement of the dies against the bolt shaft. The application of the cold extrusion process helps to raise the bolt shaft’s strength and competency of the threads. There are minimal cases of waste when using the thread rolling process, with the uniformity of the threads offering minimum chances of forming defective bolts.
Thread cutting
The threading cutting process involves eradicating a metal piece from the screw bolt’s surface to form the tips and valleys of the threads. The thread cutting procedure is done by changing cutting tools by chasers, and depending on the process’s specificity, chasers may interchange with dies. The threading process can be done on the spindle end drive or production capacity is enhanced when an automated process is applied. The forces applied during the process are cutting and rotating, which result from the movement and alteration of the cutting tools. The application of cutting tools, either die or chaser, on the bolt shaft’s surface forms the thread tight spacing.
Quality control
Thread inspection is part of the many steps taken to ensure the bolts produced are uniform. These inspections guarantee there is no waste of time and money. During the manufacturing process of the bolts, samples for tests are taken at random to test the available features. The test includes thread gauge measurements, visual inspections, and trying thread fit on the test plates. Those that do not meet the required features are removed.
Heat Treatment: Strengthens Steel for Increased Durability
Preparation for Heat Treatment:
Before treatment, bolts are cleaned for the removal of any foreign matter and surface impurity that may affect the heat treatment process. This cleaning might be done by washing with solvents and alkaline solutions. It could be done mechanically with the use of brash and grit blasting. The bolts are allowed to be as clean as it can be because cleanness is one of the most important parts of heat treatment.
Heating:
Once it is cleaned, the bolt is heated to a particular temperature. The heating is done in the furnace. There are design types of furnace that are used for heating treatment. Heating is done for a particular number of hours based on the material that made the bolt. There is particular heat treatment that each bolt has a pass to give optimum results. They include annealing, quenching, tempering, and normalizing . All this treatment gives different mechanical property to steel.
Quenching:
After it has been heated to proper temperature, the next step is quenching. This is done in different mediums. The medium may either be oil, water, or air. This is based on the kind or types of bolt that is being manufactured and based on the hardness and toughness strength expected after quenching.
The purpose of quenching is to maintain the high hardness and strength that the hotter and greater heat that was heated into the steel in the furnace to make it harder. Quenching stops the toughness and slowness strength that the product has been getting since it was manufactured from the beginning of the heat treatment. Quenching best gives the metal its toughness, hardness, and strength that is required by the factory that is making the product.
Tempering:
The next step is tempering, this is done mainly to reduce the internal stress of what the product will endure when external force is being applied to it. The harder the bolt the product is, the harder it is to break. Tempering is done at a less temperature than what the bolt was heated when it was quenched. The bolt is allowed to be in one medium for a particular period of time and allowed to cool on its own after undergoing heat during tempering.
Testing and Quality Acquisition:
While the heat treatment was done, a lot of tests and quality acquisitions are done to check if the product passes the standard of the required product that is required to come out. The testing can be done by doing hardness testing, analyzing the microstructure of the metal, and testing for tensile testing. It could be done by impact testing.
The final bolt products are ready to be used in different industries such as construction and manufacturing, automotive, aerospace, and others.

Fasteners
Surface Treatment: Improve Bolt Performance
Cleaning and preparation
Before applying any surface conditioning, the bolts must first be cleaned and prepared to remove dirt, oil, or other contaminations that may hinder the intended installation. Chemical baths, solvent cleaning, or mechanical methods, such as blasting and brushing, may be used. Cleaning is essential to enhance the level of horneness and provide ultimate adhesion to the surface conditioning.
Plating
One way of surface treating the bolts is plating, or the application of a thin, deposited layer of metal. The coating is used for corrosion resistance, to improve the appearance of the bolts, or to provide other required properties. Some common plating materials include zinc, nickel, chrome, and cadmium. The bolts are immersed in an electrolyte solutions that contain metal ions to allow the surface treatment. An electrical current is then passed through the solutions, which causes the metal to be deposited on the bolt surface. The plating thickness may vary from a few microns to mils, depending on the industry requirements.
Coating
Bolts are also coated to provide specific enhancements. Coatings are the thin layer of organic or inorganic materials applied over the bolts. They may be composed of paints, epoxy, or ceramic coatings . The coatings protect bolts from corrosion, abrasion, or chemicals, depending on the industrial demands. Coatings can be applied using different technologies such as spraying, dipping, or powder, depending on the purpose. Curing of the coating is used to ensure its adhesion and conformation. Coatings are usually dried in air or heated above 200F.
Heat treatment
Heat can be used in the surface treatment process to alter the surface of the bolts. For example, bolts are given a hardened surface using carburizing or nitriding. The method is used to increase the wear resistance of the bolts’ surface. It exposes the bolts to a high temperature and a controlled atmosphere containing carbon or nitrogen. The bolts are then quenched which leaves a hardening surface. This is done at 800F for carburizing and 930 for nitriding. Bolts may also be tempered to remove quenching stress.

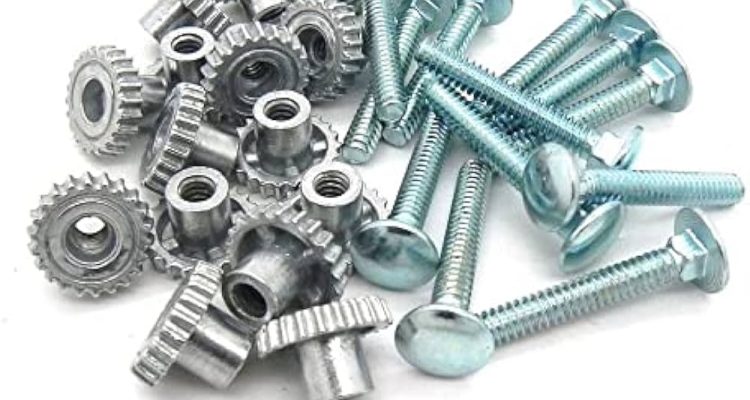
Pet Carrier Metal Fasteners
Quality Control and Packaging: Ensure Bolt Uniformity
Dimensional Inspection
Dimensional inspection is one of the most important methods of quality control to measure the accuracy of length, diameter, thread pitch, and head size. It is based on randomly selecting samples and measuring them with calipers micrometers, and other gauges . Moreover, any out of tolerance bolts are subject to further evaluation or rework. Drawings and specifications illustrate the tolerance levels for each bolt set and it is crucial that bolts are indistinguishable to be interchanged.
Tensile Testing
Tensile testing is implemented to evaluate the mechanical properties of bolts, especially the characteristics of strength and ductility. It is done by applying a tensile load to the samples with standardized equipment. At some point, the force causes a stretching of the bolt until fracture, which then is used to determine the ultimate tensile strength , yield strength, and elongation. Also, the results of tensile testing can be used as validation of the quality of the bolt .
Thread Inspection
Threads need to be controlled to examine the functionality and comparability with a nut or tapped hole in addition to uniformity and completeness. Threads can be inspected by thread gauges and other devices for pitch, depth, and profile . Moreover, specific gauges are used to inspect fit and engagement with the mating threads. Bolts with defective threads are considered rejects and are either reworked or aborted to guarantee that the threads are still intraswitchable for all the mechanisms.
Surface Finish Evaluation
Surface finish is used to evaluate the dimensions of a bolt to ensure a suitable fit to the application. It is conducted using visual and tactile methods to determine visual defects and rough finishes. The assessment of the nature of the filth and the binder must be done at this stage. The various types of gauges and measuring devices can also be used to examine this characteristic. Defective elements are considered rejects and are reworked or scrapped.
Packaging and Labeling
After passing the quality control processes, the bolts are packaged to minimize any damage due to handling and transportation. The packaging is typically either a cardboard box or a plastic bag or tray, the material depending on the size and quantity of the bolts. All boxes and bags are marked with a part number and basic dimensions and a quantity, and any pertinent instructions or tags, and labels such as “NS” for not salable or with specific restrictions are affixed when appropriate.
