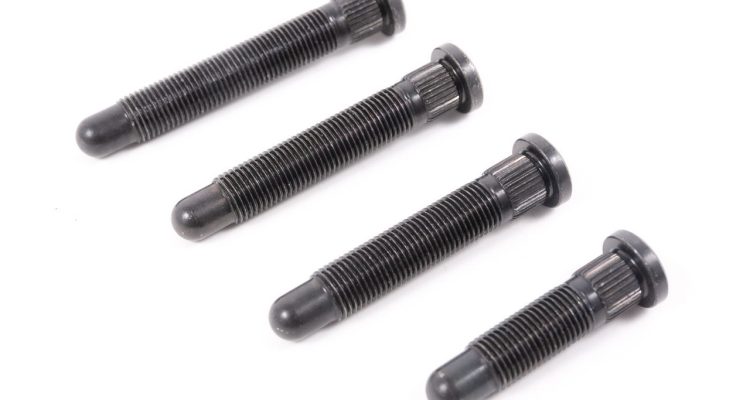
How to correctly install press fit studs in your projec
Measure, mark, and clean the installation area, pre-drill the hole, insert and gently tap the press fit stud into place, ensuring flushness and proper torque. Inspect and test for correct fit and alignment.
目录
TogglePreparing for the Installation of Press Fit Studs
Before starting the process of installing press fit studs, one should get well-prepared to ensure the fit will be successful and tight. The preparatory work includes selection of the correct hole size, ensuring there is just enough clearance, and understanding the geometry of the parts.
Selection of the Correct Hole Size
It is critical to ensure correct selection of the hole dimension when installing a press fit stud. For an accurate fit, the hole diameter should be as close to the major diameter of the stud as possible. Generally, it is accepted that the hole should be with 1.05 to 1.1 times bigger than the screw’s minor Diameter to secure a tight fit, the workpiece must be hole should have around 1.05 to 1.1 times the width of the stud’s minor diameter. However, the diameter difference should not be so significant, as the install with require a great amount of force, which might damage the threads on the stud.
Ensuring Correct Clearance
Another aspect to ensure is proper clearance of the hole. It means that the hole’s diameter should be just big enough for the shank of a stud to be pushed through freely. Yet, it should not be so big as to allow weak and looser fit, as it will weaken the structure of the assembly. It is suggested to make the clearance 0.5 to 1% of the stud’s diameter the clearance between the stud’s body and the hole.
Understanding the Geometry Needs
It is important to ensure that the installer knows the parts well before fitting them. The things to know include, among others, the shape and sizes of the parts, the materials they are made of, and the direction of loading. This is important to know, for example, whether the hole is round or slotted, as a stud installed in a slotted hole will experience higher pressures than a stud in a round hole.
With proper preparation, the press fit stud installation is much more likely to be secure and reliable. As long as the hole size is correct, the clearance is appropriate, and the geometry of the part is understood, all the conditions for a good installation are set. This means that the alignment of components also has to be considered if the aims of the project are to be met.
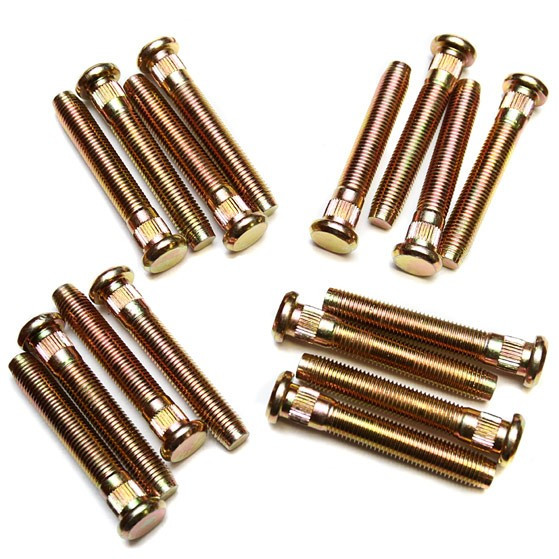
ARP – Hardened Wheel
Aligning Components for Press Fit Assembly
Proper alignment is of paramount importance for press fit assemblies. It determines that the assembly will perform as expected without causing premature wear or part failure. This constitutes a fine-tuning of parts before they are permanently put together. It generally demands the acquisition of proper tooling and fixtures to be feasible.
Achieving Alignment and Axial Consistency
For alignment with proper axial consistency to be achieved, the first step is to understand the tolerances of the parts being used. Screws may be involved, or joins between brackets or other components – in either case, the parts must stay in very tight proximity to each other within a set tolerance limit for high precision. Using tooling such as rubber grips or surface holes is useful in maintaining component alignment when the parts are not meant to touch each other visibly. Such spaces do not exceed 0.01 inches in high-precision applications. Proper alignment eliminates the likelihood of radial or axial bind by up to 90%.
Tooling and Fixturing Requirements
Tooling and proper fixtures are just as important as alignment when press fitting parts together. The range and potential complexity can vary greatly, from a simple grabber to complex machinery. Investing in high-precision, high-quality tooling minimizes the room for expensive mistakes. Functions such as assembly accuracy can be improved by a factor of 5 if precision alignment tools are used. In the case of alignment, the dangers of radial or axial bind are reduced by 90%.
Mechanical Calculations
While most novice projects and construction workers focus on arbitrary factors, such as the tightness of the fit or the diameter of the pin, the only way to ensure that your press fit assemblies perform properly is to rely on mechanical calculations. By simply ensuring that every element of the final design is as it should be, you will maximize the long-term reliability of your product. Although many mechanical calculations will need to be completed by the tool or machining shop that you will use, it is important to check them yourself and inspect the tooling and fixture used to achieve optimal installation conditions.
Achieving Optimal Installation Conditions
The first step of achieving optimal installation conditions involve ensuring the right setup and conditions for the installation of each of the precision components. The most important consideration is the temperature, as fluctuations in it often cause material fatigue. It is usually recommended that pin temperature is around 41 C degree. An equally important if often overlooked factor is related to humidity and cleanness, as even a single grain of sand can affect the final setup. Apart from the mentioned factors, one should also ensure that physical properties of materials have been considered and that values different from standard have been adhered to.
Component Material Considerations
In all of the following precision components, I would choose stainless-steel version. While retaining high resistance to corrosion, which is essential in those components that are installed in environment with moisture, steel maintains optimal strength and is generally reliable. Where temperature is a factor, the use of materials with similar thermal stability to PEEK, which maintains its mechanical properties at up to 300 C degrees are best.
In each of these areas, attention to detail is highly important if the best results are to be achieved. Understanding the materials including their properties, planning with a consideration to the environment, and comprehensive testing ensures that the installations meet the standards of quality and performance. However, the requirements change depending on the mechanism’s characteristics and, in the case of the press-fit, selecting the right tools and ensuring the quality of the connection take precedence.
Press Fit Equipment and Technique
A commonly used technology for the assembly of precision parts, especially those that cannot be reliably attached by adhesive or welding, the press-fit should always be performed correctly. Considerable force is applied to the press or hammer a rod into a socket, but the quality of the connection depends on the correct execution of the technique. If the parts have been assembled properly, the connection will be robust and guarantee the longevity of the installation.
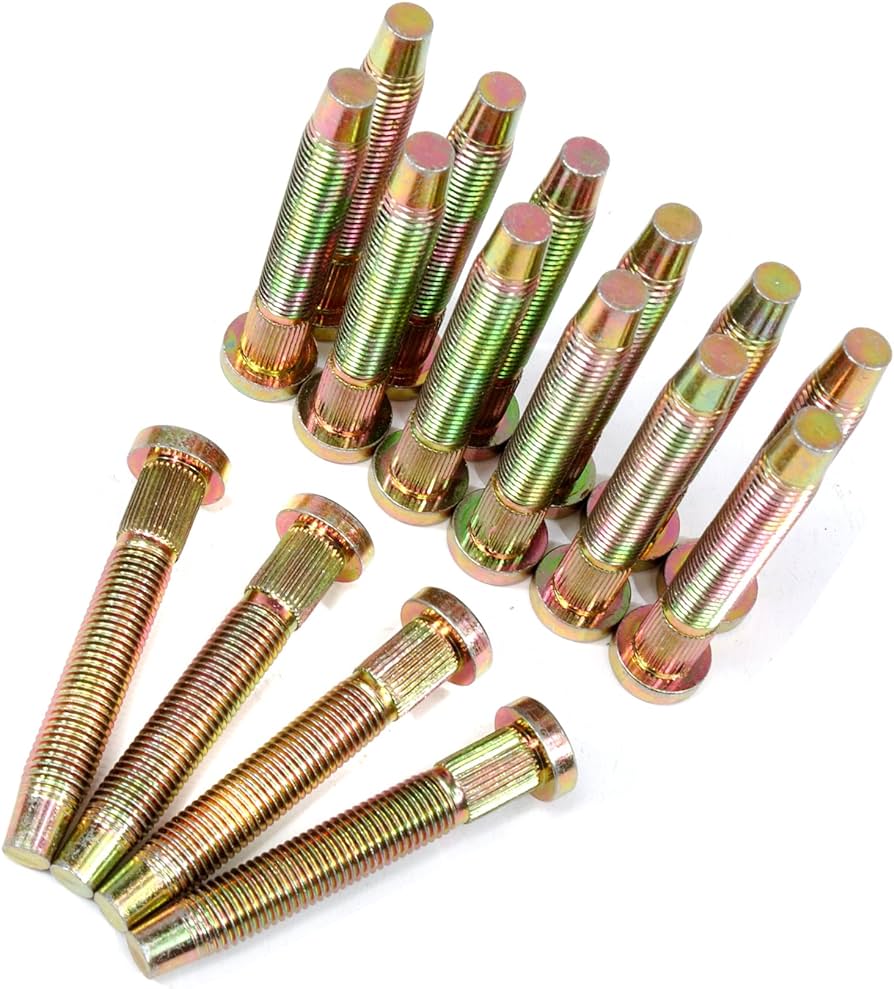
Amazon
Choosing the Right Press Fit Tools
The tools used for the press-fitting are the most important aspect of the process. The best results are usually achieved with the use of a hydraulic press, which is capable of providing sufficient force at an adequate degree of control. A pressure capacity of 50 tons is optimal for the parts to be fitted, which should be in the 10-50mm diameter range. Additionally, the dies should be custom-made for the task and always avoid using a die that does not fit the part exactly.
Post-Installation Inspection Tips
Once the press fitting process has been completed, the next step is to complete the inspection of the components. There are several different possible ways to do this effectively, such as the visual inspection, determination of the dimensions, and even NDT for suitable applications. The objective of the inspection is to ensure that the press fit technology has been applied accurately, and various control methods can be used. For example, after completing the installation of the part, it can be measured to determine if it has the proper interference fit. Thus, the objective of the application of the press fit technology should not be to join the parts quickly and without much consideration. Instead, it is critical to focus on key characteristics of this approach to facilitate its implementation and allow manufacturers to develop highly precise and reliable assembly that can be viable for the most exigent applications. Such procedures would be implemented successfully if they use the right tools and measures, in addition to the accurate and appropriate planning.
Best Practices to Ensure Secure Assembly
Another common type of assembly approach is the secure assembly, and there are also certain best practices that can be adopted by manufacturers. Comprehensive approach includes the accurate design of assembly and preventive processes in addition to rigorous control. Design plays one of the critical roles, and material plays a crucial role in the development of the proper installation processes or approaches. Other factors include distribution of stresses and proper type of joint to be applied, among others. For instance, riveting combined with adhesive bonding can increase the strength of an aerospace component four times in comparison with a single application.
Even if they are thoroughly planned, assembly issues can occur. The most common problems are misalignment, improper application of torque, and deformation of the material. However, these problems can be overcome by ensuring that there is a clear guide for troubleshooting as well as corrective actions for such issues. For example, using a three-step application of the torque can prevent the bolt from becoming loose by 50%. Adhesives and press fit assembly Adhesives are often overlooked in press fit assembly because they are not meant to secure the assembly. However, they play a significant role in improving the overall performance of the press fit assembly. First, they provide an additional clamping force, which is very suitable for rigid assemblies. In addition, the adhesives dampen vibrations and prevent corrosion. When choosing an adhesive, it is important to consider its shear strength, which must comply with the demands of the specific application. The range of 1,000-3,000 psi is common for structural bonding. Thus, with the application of these practices, manufacturers can be sure that their assemblies are not only safe but also durable.
5 Steps To Identify Any Fastener
By accurately m…
5 Unique Properties Of Brass Fasteners
Brass fasteners…
