5 Key Steps To Comprehensive Bolt Testing
Explore the comprehensive process of bolt testing, including material selection, mechanical and metallurgical testing, chemical analysis, and continuous improvement.
Material Selection And Pre-Test Analysis
The use of appropriate material for bolts is an essential step that influences the remaining process starts and eventually the final functionality the component needs to satisfy. It includes an in depth analysis and a few checks.
Understanding the application details
The primary task should be to identify the application requirements including load requirements, environmental conditions, and predicted life. For example, automotive engine bolts should be able to bear high temperatures and cyclic stresses. They are typically constructed with heat treated grade of medium carbon steel to improve strength.
Choosing the Right Material
Depending on the requirements, choose a material that fulfills the needed conditions. The most common options for stainless steel used in marine applications are grades 316 has 16-18% chromium, 10-14% nickel, and with trace amounts of Molybdenum. For higher-strength applications, a steel such as an AISI 4140 oran alloy would be used to improve performance but the choice of thickness should be done in parallel.
Conducting Pre-Test Analysis
Perform a Pre-Test Analysis before the mechanical tests, to validate the properties of your material choice. ASTM A370 is an example of such a standard in steel materials which defines procedures for testing mechanical properties of the steel products, like tensile strength, yield strength and hardness. Conduct spectrographic analysis for verification of the chemical compounds used.
Material Properties Assessment
Determine key material properties using standard tests. Typically, the tensile strength and elongation of the material are evaluated through an ASTM E8/E8M tensile test method, for which results are reported in psi. Hardness tests- Determine the resistance to deformation with Rockwell and Vickers methods. Hardened bolts, for example, usually have a Rockwell hardness from HRC 35-45.
Documenting Results
Be extremely detailed in documenting all findings such as material spec, test methods and results. This documentation serves as a guideline for when the material has been selected to ensure that it always reaches certain performance characteristics. Well-kept records, maintain quality control and traceability through the manufacturing process

Mechanical Testing
Mechanical testing is used to verify compliance with specified performance requirements for bolts under various conditions. It is done through some crucial tests to detect various characteristics of the bolts.
Tensile Testing
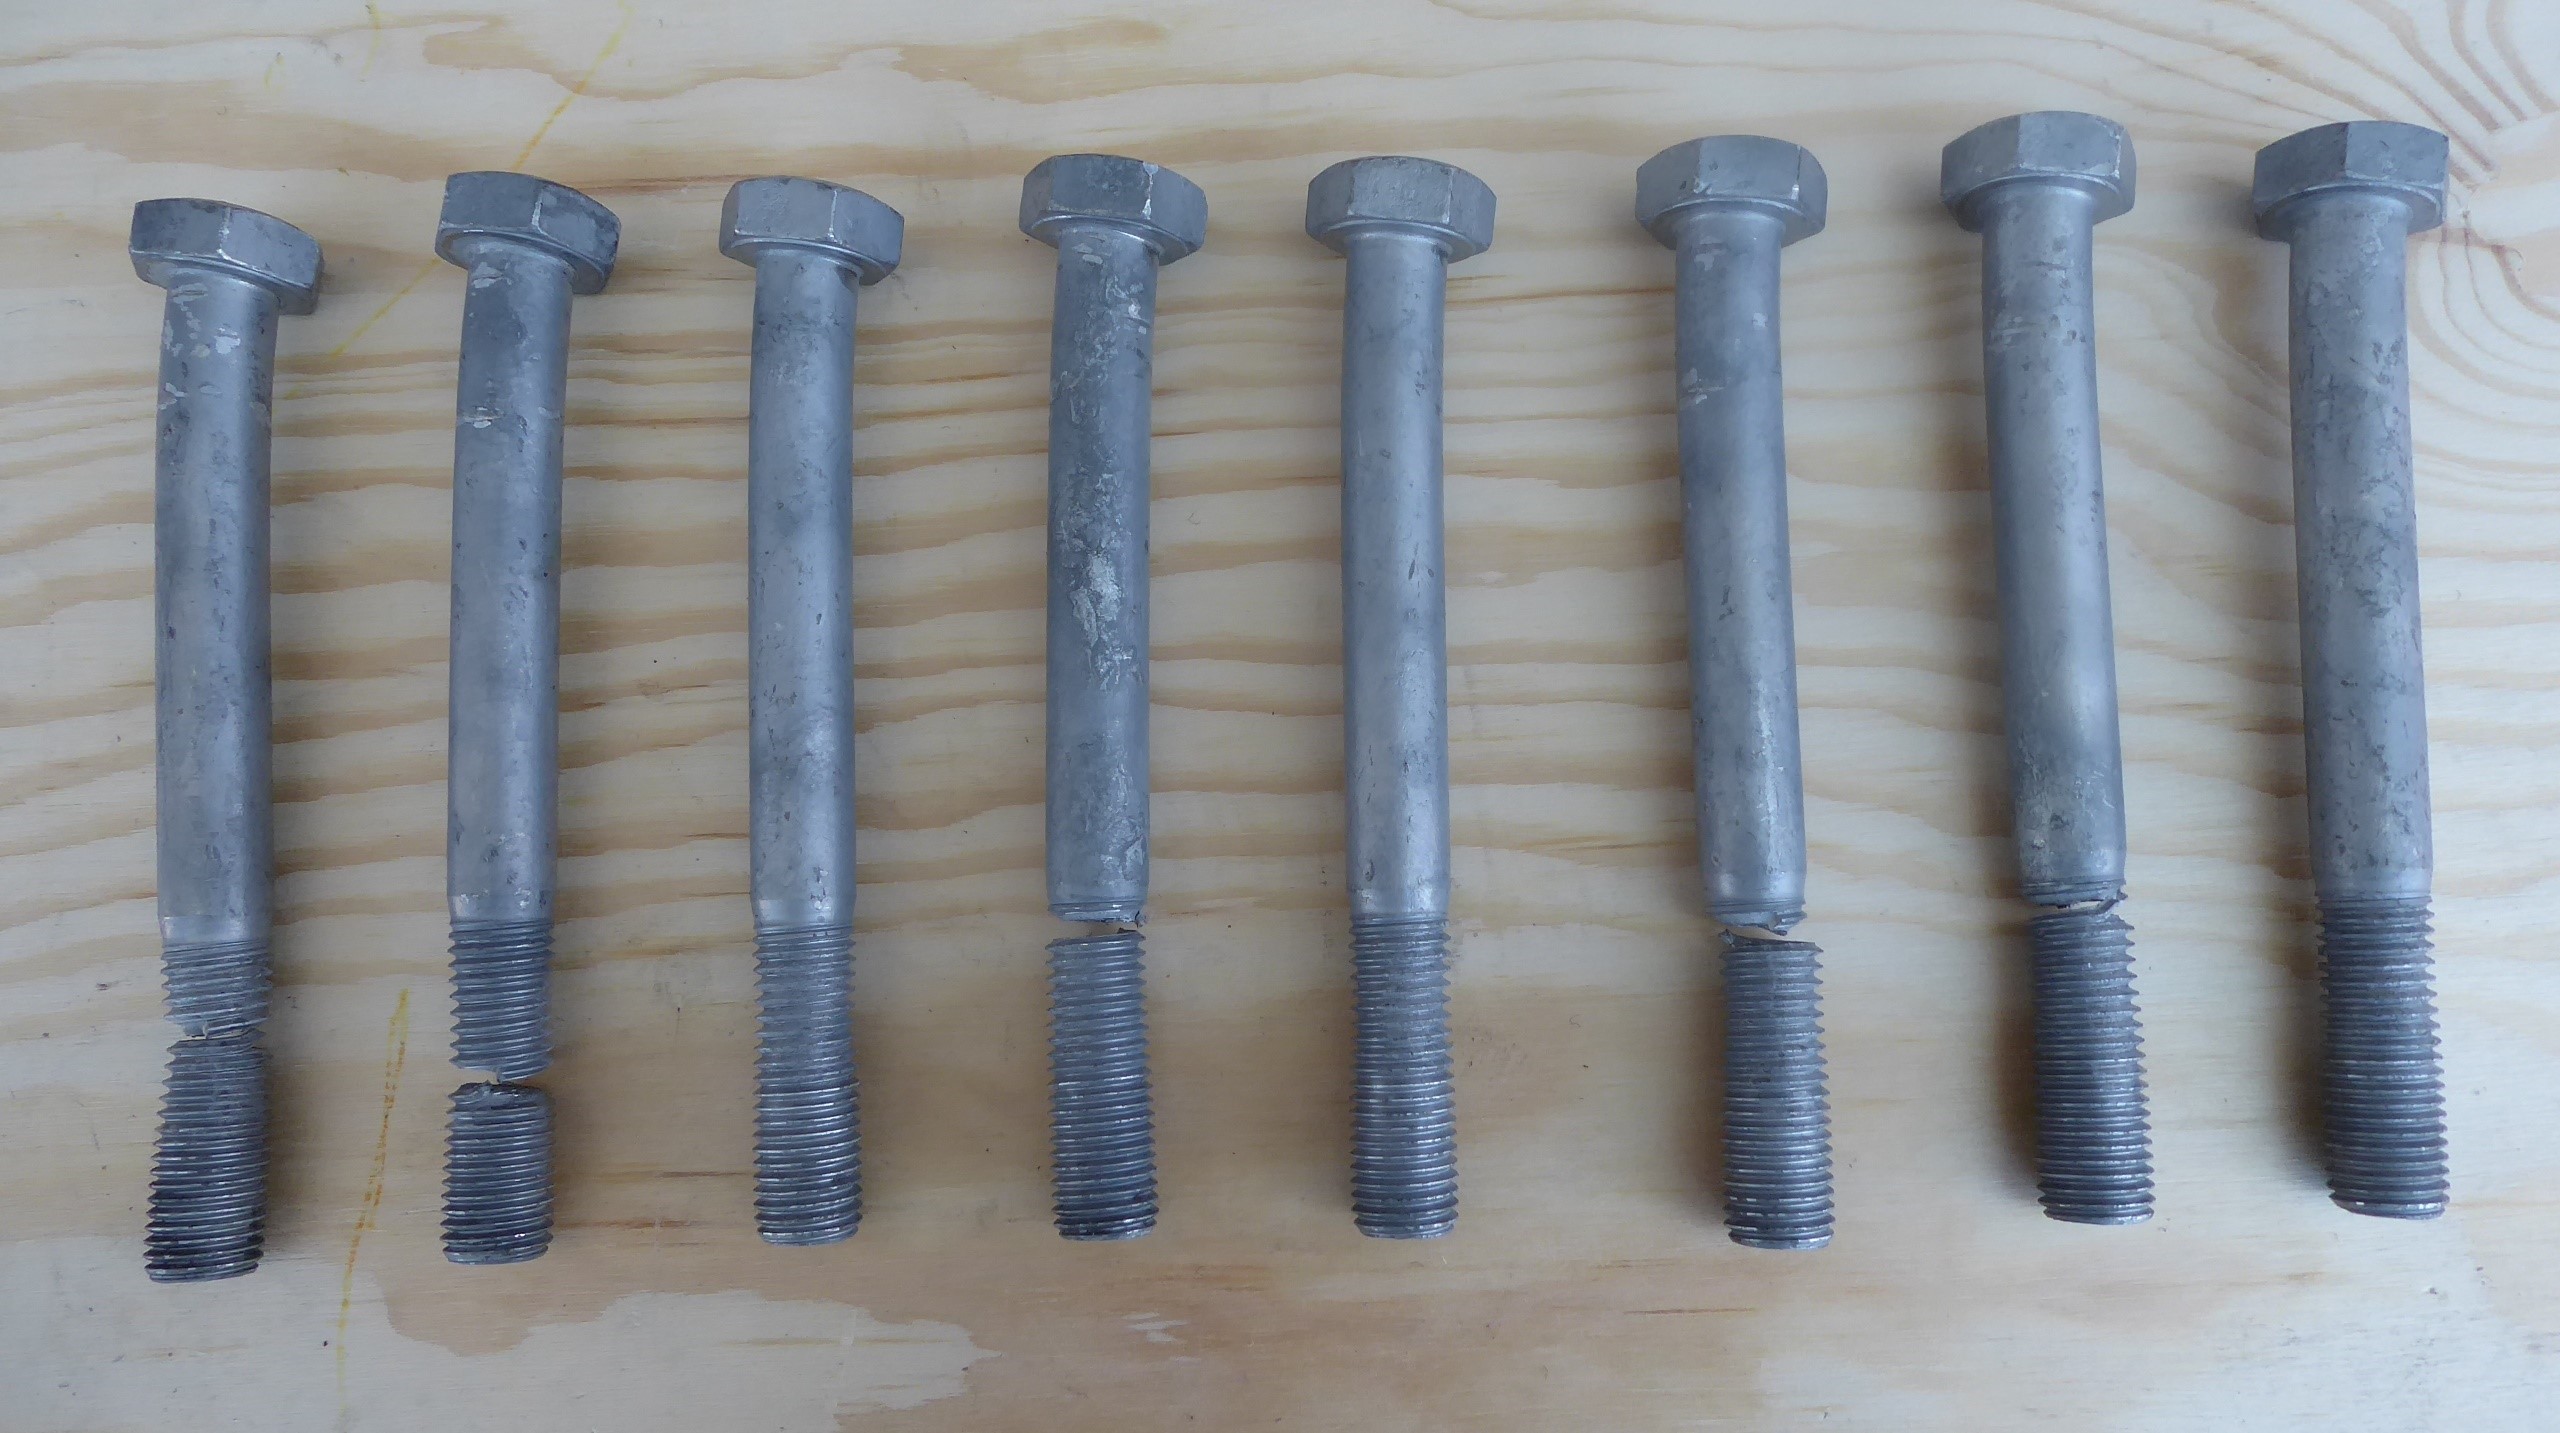
Pull testing is done to find out the ultimate capacity of a bolt before it fails. ASTM F606 / F606M states that tensile strength of a Grade 8 bolt should have a maximum of 150,000 psi. The test consists of fixing the bolt in a testing machine and applying a unidirectional force in this, until the failure of the bolt. It generates results relating to tensile and yield strength as well as % elongation. A Grade 5 bolt is rated at a minimum of 120,000 psi tensile strength, meaning it can handle higher loads.
Hardness Testing
A hardness testing method will assess how well a bolt can resist being deformed. Some of the common methods include Rockwell Hardness Test and Vickers Hardness tests. A Grade 5 bolt, for example, has a Rockwell hardness of 25 – 34 HRC. This test includes pressing a firm indenter onto the surface of the bolt and reading the depth or size of indentation. With a Rockwell hardness of 33-39 HRC grade 8 bolts will take large amounts of stress and are suitable to high wear applications.
Shear Testing
Shear testing is a common test carried out to determine the amount of force that a bolt can resist that act on forces parallel to the surface passing through two parts, causing both in plane relative movement. This is the test required by structural bolts that are dominated by shear loads. High-strength bolts have a shear strength of around 60% of their tensile strength according to research. Also the test is carried out by loading in a direction parallel to the axis of the bolt until it fails to guarantee this behavior, like when installed with other parts.
Fatigue Testing
Fatigue testing is meant to evaluate the cyclic loading of the bolt. For instance a bolt that functions in machinery, which moves must face repeated stress cycles. High-strength bolts, BNSF found, should last at least 2 million cycles at a given load without breaking. This is largely done by applying a repeated load to bolt to mimic the real-world conditions and how well the bolt will fare throughout its life.
Impact Testing
This is an impact test to see how strong the bolt is and how well it can absorb energy during loading or more importantly impact onto the same. Charpy V-notch test – which involves striking a notched specimen with a swinging pendulum According to ASTM standards, bolts for critical applications shall have a minimum impact energy of 20 Joules at low temperatures. Bolts interacting in extreme environmental conditions must pass this test to prove they will maintain structural integrity after a sudden load is placed on them.
Metallurgical Testing
Testing is performed to evaluate an existing bolts internal structure and composition, so that it performs as expected with no defects in the material prior to service. The process includes many intricate screening tests.
Microstructural Analysis
Optical microscopy or scanning electron microscopy (SEM) is preformed for microstructure analysis. A Grade 8 bolt, for instance, should show a quenched and tempered martensitic structure. Determination of grain size, phase distribution and also identification of potential defects such as inclusions or voids. The above is how the micro-graph of a properly machined bolt should look ideally with a well defined grain boundaries and no significant flaw.
Grain Size Measurement
Size of the grains is one of the important aspect to understand mechanical properties of the material. The strength and toughness of the metal are most generally limited by these microstructural properties-is itself strengthened by the maintenance of grain size at scattered precipitates in the areas. ASTM E112 sets the grain size number as 5,6 or 7 for high-strength bolts, which means fine. This is characterized by the examination of polished and etched samples under a microscope.
Inclusion Rating
Inclusions are non-metallic particles in the metal that can impact the bullet’s performance. Steel inclusion content is assessed according to the ASTM E45 standard. A good quality bolt will have far fewer inclusions. An example is a high-strength bolt with an inclusion rating of A (thin series) under 1.0, denoting low inclusion content and thus great material cleanliness.
Heat Treatment Verification
The specific heat treatment processes of quench and temper are essential in obtaining the desired mechanical properties. For example, a Grade 8 bolt is normally quenched at 870-940°C and tempered at 425-660°C; Metallurgical testing can include confirmation of the heat treatment process without examining under the microscope for the post transformation microstructures (e.g. tempered martensite) indicating both successful hardening and tempering.
Case Depth Measurement
When bolts are surface hardened, a case depth is measured. High strength bolts shall have effective case depth as specified by standards like SAE J423, which is typically between 0.5-1.5 mm. This gives a measure for the surface hardness, and sufficient testing must ensure that the core material is not made brittle by heat treatment.
Chemical Analysis
To ensure that all bolts comply with the necessary standards and specifications, chemical analysis confirms the elemental composition. This process tends to be complex and requires a great deal of detailed work from you.
Spectrographic Analysis
This type of analysis, often carried out using optical emission spectrometry (OES) to perform spectrography, outlines the range of elements present in various concentrations within the bolt material. A 316 stainless steel bolt should have 16-18% chromium and 10-14% nickel, among the other percentage(5+%). The atoms in the sample are excited, and their wavelengths and intensity of emitted light are measured which are characteristic to particular elements and there concentration levels.
X-ray Fluorescence (XRF)
Non-destructive Non-binding X-ray fluorescence (XRF)-An analytic technique used to determine the elemental composition of bolts. It never fails to impress when you can detect elements from low ppm (parts per million) levels right up to near 100% with the correct technique. This makes XRF a particularly picky analysis method and very fast for checking production status. A common carbon content for such steels is typically in the range 0.30-0.40%.
Validation of Chemical Composition
It requires a verification of chemical composition to ensure that the bolt material meets certain standards, such as ASTM A193 for high-temperature and high-pressure applications. A fastener intended for conditions of this sort will have a set geographical region including the precise number of elements contained, such as chromium which means 17-20% and molybdenum is in between 2-3%. Checking these values are in the right slot ensures that the material can work correctly in harsh conditions.
Impurity Detection
Detection and quantification of impurities are important, in even the tiniest quantities this offers immediately jeopardy to the performance of the screw. Steel should always have sulfur content below 0.05% otherwise it will be too brittle, for example. ICP-MS allows for detection limits of impurities impractical through chemical analysis and thereby qualify the material in its purity and resulting performance.
Reporting and Documentation
Quality control and traceability are made possible through thorough chemical analysis reporting and documentation. The results should state the concentration of each element, the methods and standards used. By maintaining the record, deviations from the chemical composition are easily identified and corrective actions taken.

Continuous Improvement
Long life and stable performance of bolts are need continuous improvement. In this step, test data is analyzed systematically to tentatively optimize manufacturing processes.
Analysis and Feedback
Data from testing Material selection Mechanical Testing, Metallurgical Testing and Chemical Analysis Monitor production and detect variations using operation historical data to Deployment statistical process control (SPC). If the actual tensile strengths for Grade 8 bolts are all under say 150,000 psi, it means the process is running outside the ideal upper values. Deviation is quickly identified, and these feedback loops allow the correction process to be implemented as soon as possible.
Implementing Best Practices
Take advantage of industry best practices and standards to quality. ISO 9001 provides a model for quality management systems aiming at continual improvement of product quality. Applying those practices makes the whole processes you use a well-managed improvement.Ordinal Style: Helps to methodically make the process better. For instance, implement Six Sigma principles to decrease defects and boost productivity. For example, a Six Sigma project might target a key manufacturing process to reduce the percentage of defects in bolt production from 5% to less than 1%.
Process Optimization
Adjust and optimize production with data analysis. For instance tuning the heat treatment procedure may imply playing with quenching temperatures and times to get the suitable material hardness and microstructure. Also, it is consistency maintained through revisiting SOPs to be commonplace practices when producing and ensuring that production adheres to the most current quality standards and technological advancements available.
Training and Development
Continuous Improvement through the Training of our People Scheduled training programs can help staff track the latest testing techniques, quality norms, and technological improvements. For example, advanced metallurgical analysis techniques can be taught to training programs to increase test results accuracy and reliability.
Technological Advancements
Maximize the use of technology in order to improve testing and production. Automated testing systems are an efficient and accurate means of doing so, which results in less human error. One of the most commonly used testing machines in this area is automated tensile testing which tends to provide accurate measurements and detailed reports leading towards informed decision making. Furthermore, you can anticipate the behavior of bolts by using simulation software to simulate the performance of bolts based on a variety of conditions and make anticipatory adjustments.


