5 Common Mistakes With Pocket Screws
Common mistakes with pocket screws include incorrect hole depth, wrong screw length, over-tightening, inadequate clamping, and ignoring wood grain direction, affecting joint strength and appearance
Choosing The Wrong Screw Type
In projects assembled with pocket screws, the choice of screw type is paramount both to the joint’s structural integrity and to its appearance. Underestimating its importance is a common error that leads to weak joints, visible cracks, or even material splitting. Some key factors to consider when selecting the correct type of screw are material, length, and diameter, and head.
Material Compatibility
Different property materials may require different types of screws. Hardwoods, such as oak or maple, will split with coarse screws, so finer threads are needed to keep the integrity of the material. Softer woods, such as pine, are better to join with coarser threads which will hold the grain better. Conversely, using a fine thread screw in softwood makes the screw strip out and become completely useless.
Length and Diameter
Length and diameter are also relevant characteristics. Screws that are too long will protrude from the material’s other side, which may not be desirable in a given project. If too short, the screw will not penetrate deep enough and will not offer a strong hold. For example, two 3/4-inch thick boards are typically joined together with 1-1/4-inch long screws. Deviating from these standards may compromise the project’s overall durability.
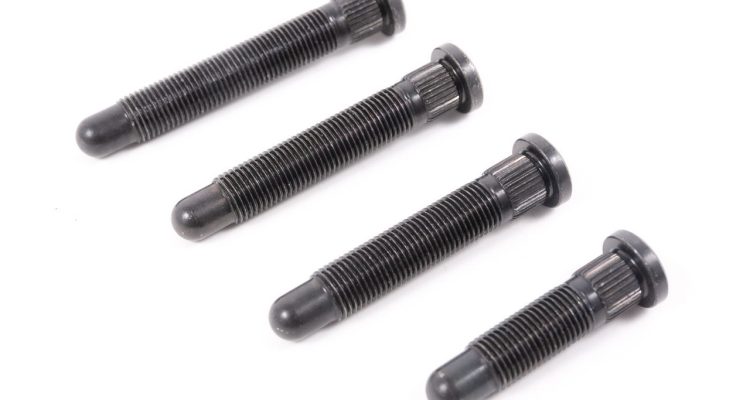
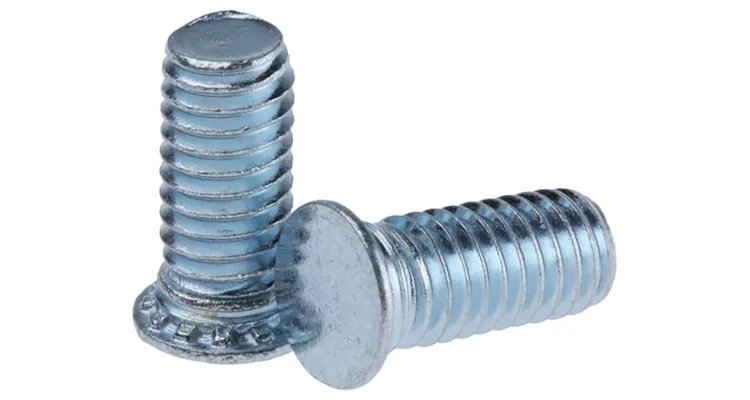
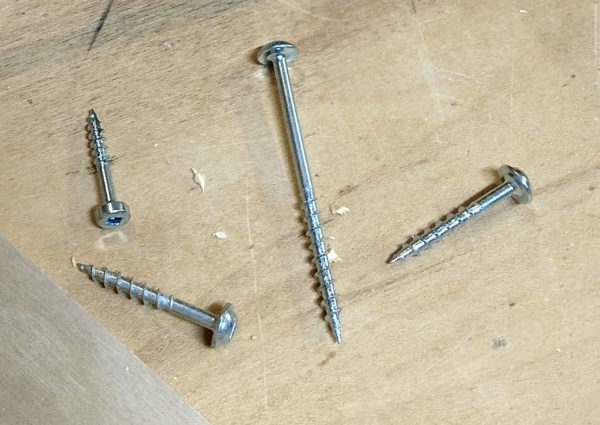
Head
The head is the part of the screw that determines how flush the screw can be within the pocket hole. A pan head screw offers more holding power and can be flush with a surface, making it the best choice for jobs that require a completely smooth finish. If a screw with its rounded head is used in such a task, the results may be less neat and even collapse adjacent components or operations. For example, a colleague who makes furniture received many complaints from their customers about a newly featured dining chair’s inability to remain stable. After examination, it emerged that the screws were too short for the thickness of the wood. They all gave in eventually under normal use, for they were the weakest point of the chairs.
Pocket Screw Joint Sale Online
Drilling Depth Is Inaccurate
The drilling depth has a direct impact on how well the pocket screw will hold and how it will look. Drilling too shallow may result in the screw’s tip sticking out of the material. Conversely, drilling too deep may increase the likelihood of the screw not getting enough grip, thus leading to a weak joint. Improper drilling depth may also result in unexpected damage to the material or the screw.
Setting the Drill Depth
The drilling depth normally should be less than the thickness of the material to be used with pocket screws. Therefore, before drilling, the thickness of the workpiece should be measured. For example, if the depth of a ¾-inch thick board should be ¾-inch. Accordingly, the drill stop should be set to stop the drill bit approximately 1/16-inch less than the desired depth, at slightly under ¾-inch. If the jig features a depth collar, it should be tightened according to the instructions to secure it in place. The test will show how to set the collar.
Testing the Drill Depth
Before starting on the finished parts, it is recommended to make a test drill in a scrape piece of the same material. The screw should not protrude from the other side of the material if the stop and depth settings are correct. Accordingly, if the screw tip does stick out, the seat should be adjusted slightly deeper. If it does not reach the end of the pocket, it should be set shallower.
Real-life cases
One amateur woodworker tells a story of creating a cabinet with many shelves. After it was done and the shelves were installed, they began to sag visibly. It turned out that the drilling depth during the assembly was too shallow, which resulted in the assembly screws not having enough grip. Although only part of the cabinet was disassembled, the holes were made at the correct depth.
Not Aligning Wood Pieces Correctly
Having wood pieces properly aligned is the A and B of using pocket screws. It secures that the resulting joint is strong and looks right. All consideration needs to be taken with making sure wood has wrong alignment which might result in slanted or twisted surfaces, the gap between pieces forming the joint and other undesirable consequences.
Preparation to Alignment
Start by making clear marks on the lumber where the joint will be located. Confirm that these marks are correct and evident;
Using the square triangle or measuring tape, make sure the angles between the two pieces are correct and they’ll meet perfectly;
Clamping the pieces
Make sure the lumber pieces are not moving and are well-clamped before you start drilling. Incorrect clamping might lead to the wood moving as the screws start to go in. One should mention that stress after the screws are connected might still move the lumber, as long as it’s less than the screw’s length, it will still work in connecting pieces. Still, it’s better to minimize the movement with correct clamping. The clamps themselves should be placed so they do not obstruct the part of lumber where you will be working and they apply equal pressure on both lumber pieces;
Drilling and Joining
If the previous step was done correctly, and the lumber is in a steady position, drill the pocket holes using drill jigs. Make sure everything’s right after you’ve drilled and only then start joining the pieces using pocket screws. If something’s wrong – disassemble the connecting pieces and adjust before joining.
Real-life Cases
The prominent error was made by a DIY bookcase. All shelves were connected with pocket screws. Even though best measures were taken to mark the connection point, the pieces were still misaligned. Reason? Clamps used on shelves were improperly connected and not tight enough. The bookcase was far from beautifully looking and very unstable. After the shelves were disassembled and correctly realigned, with improved clamping, they were put a lot better together.
Overdriven Screw
One major mistake that can ruin the woodworking projects is overdriving the screws. It can compromise the joint’s integrity, damage the wood, and ruin the finish, requiring additional work to correct it. The simple technique to ensure the screw is not overdriven is outlined below.
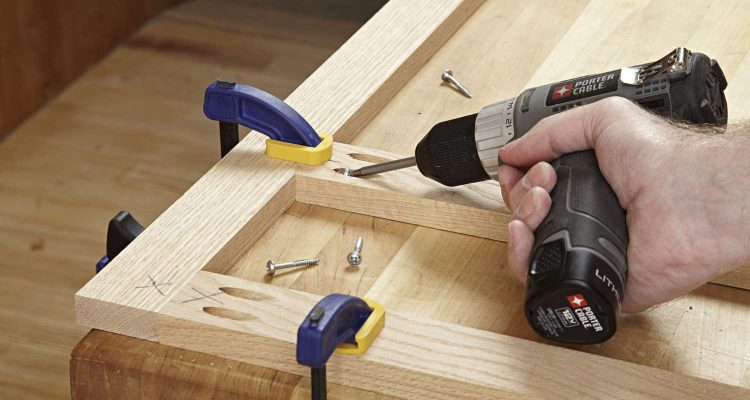
Using the Correct Torque Setting
It is vital to use a drill or driver with an adjustable torque setting to avoid driving screws too far into the wood. The drill’s torque needs to be set to a level that is suitable for the wood and screw size. The softer the wood, the lower the torque setting should be to avoid stripping the material. With some drills, the depth stop can also be attached as an option.
Practicing on a Scrap Piece
When working with a piece in the assembly, it is best to first practice on the same material to understand what the correct torque setting and speed are needed to drive the screw to the required depth. Notably, driving screws into the material with varying hardness can cause a lot of problems in adjusting the speed and torque.
Overdriven Screws Mistake
I have not yet made a mistake of overdriving the screw. However, a professional carpenter cites an example of a school cabinet that was made in a custom kitchen project she completed. The screws used to assemble cabinets were not driven to the required depth. The exterior of the cabinets was overdriven, and the screws could be seen. So, I learned that overdriven screws require the use of wood filler, a compound bought from a store to hide the mistakes. Then it all needed to be sanded and the finish re-applied, adding time and cost to the project. We fixed the problem and the cabinets looked beautiful.
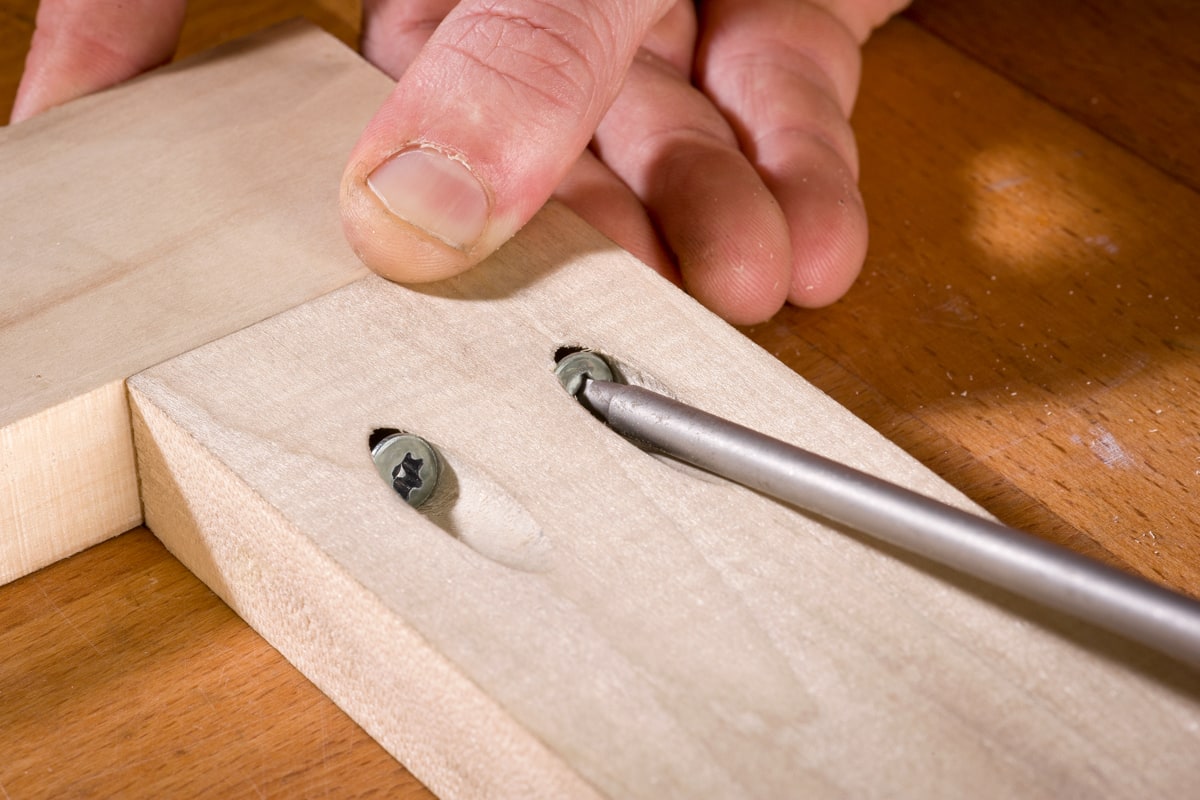
After Driving Screws
After driving each screw, it is important to check whether the screw is at the right level. It should either be flush with or slightly below the wood surface. If it is deeper, it has been overdriven and must be pulled out and driven in again. If the wood is damaged, the screw should be replaced.
Pocket Hole Joinery – Here’s How
Ignore Wood Treatment
If you use pocket screws without treating the wood before, a few issues will become apparent. The main ones include poor adhesion, shortened lifetime, and the risk of sub-structural failure. Thus, treating the wood before assembly as directed is a crucial step to ensure the quality and lifetime of your project.
Guideline to Wood Treatment
Wood treatment involves processes such as sealing, staining, or applying a moisture barrier, and it depends entirely on the wood’s expected usage and environment. For example, exterior projects have to be treated with chemicals that resist weather and decay, while interior projects are judged more on the ease of finishing and aesthetic appeal.
Select the most appropriate treatment for the type of wood you are using and the conditions of the project. Different hardwoods might need different sealants or stains, and outdoor furniture will require water-resistant treatment to prevent warping and decay.
Apply the treatment to the entirety of the wood you are working with it. This includes all of the sides and surfaces that might be difficult to reach after the project is assembled.
Real-life cases
I knew a deck builder who ignored my advice and failed to treat the wooden beams for the substructure of a patio before joining them with pocket screws. Owing to the relative inaccessibility of the instances of wood treatment in the assembled structure, the untreated main contact sides, hidden by the joints and impossible to see once they were screwed together, rotted in less than five years. The patio had to be partially disassembled, and entire beams replaced or reinforced in order to make it usable and visually appealing again.